DIY Install of a Basic Solar System
Below you will find some photos and a video I took of my DIY install of a Basic Solar System. This is a highly efficient unit that uses a Charge Controller and Inverter to collect and store solar power.
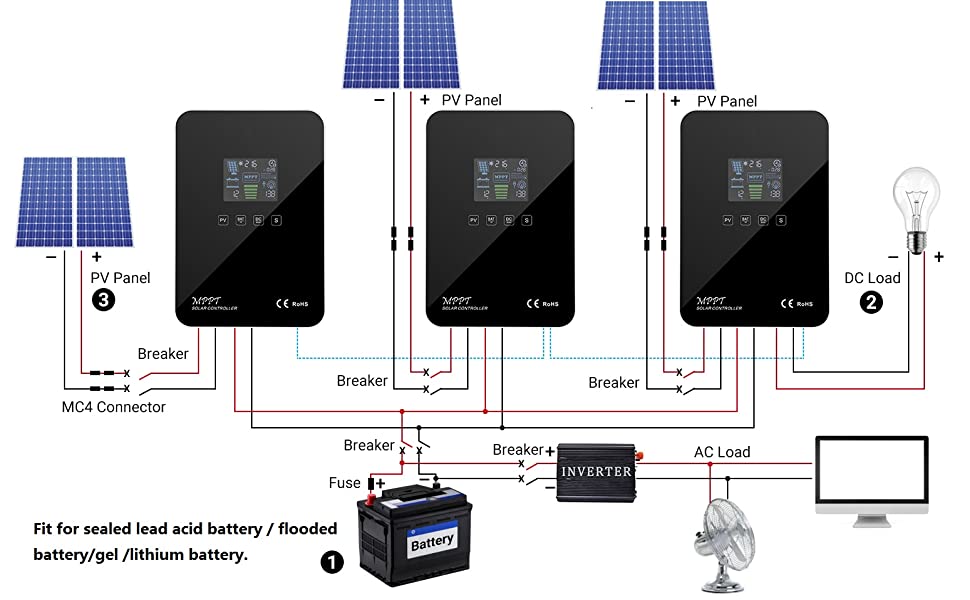
These are basic instructions apply to a range of charge controllers and inverters. The size of the charge controller is based on the amount of solar power you have connected. The size of the inverter is based on how much electrical load you want to support. The charge controller puts power into the battery and the inverter takes power out. The charge controller and inverter do not know that each other exist.
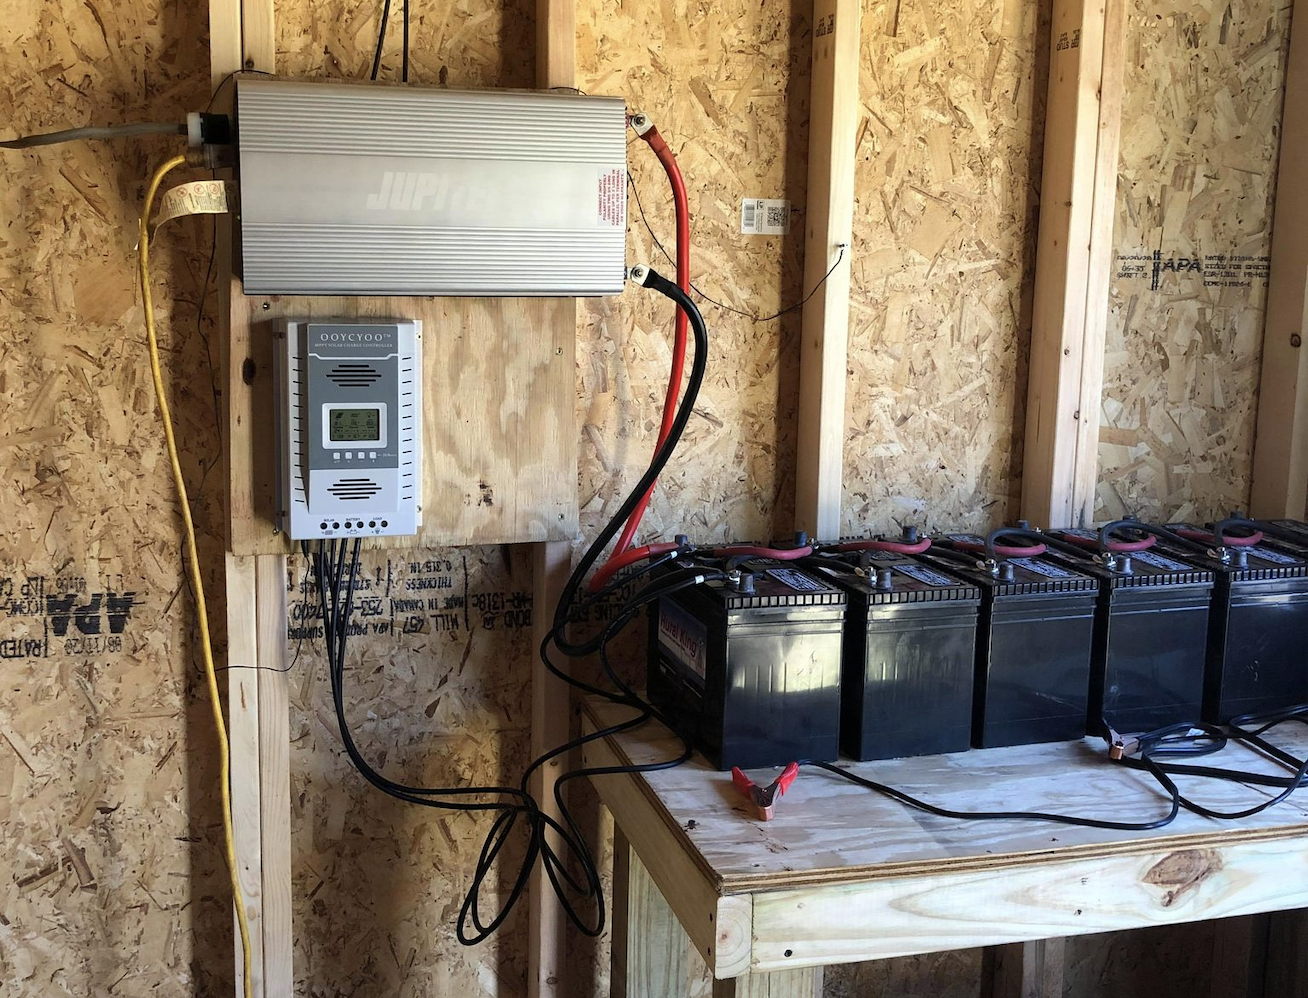
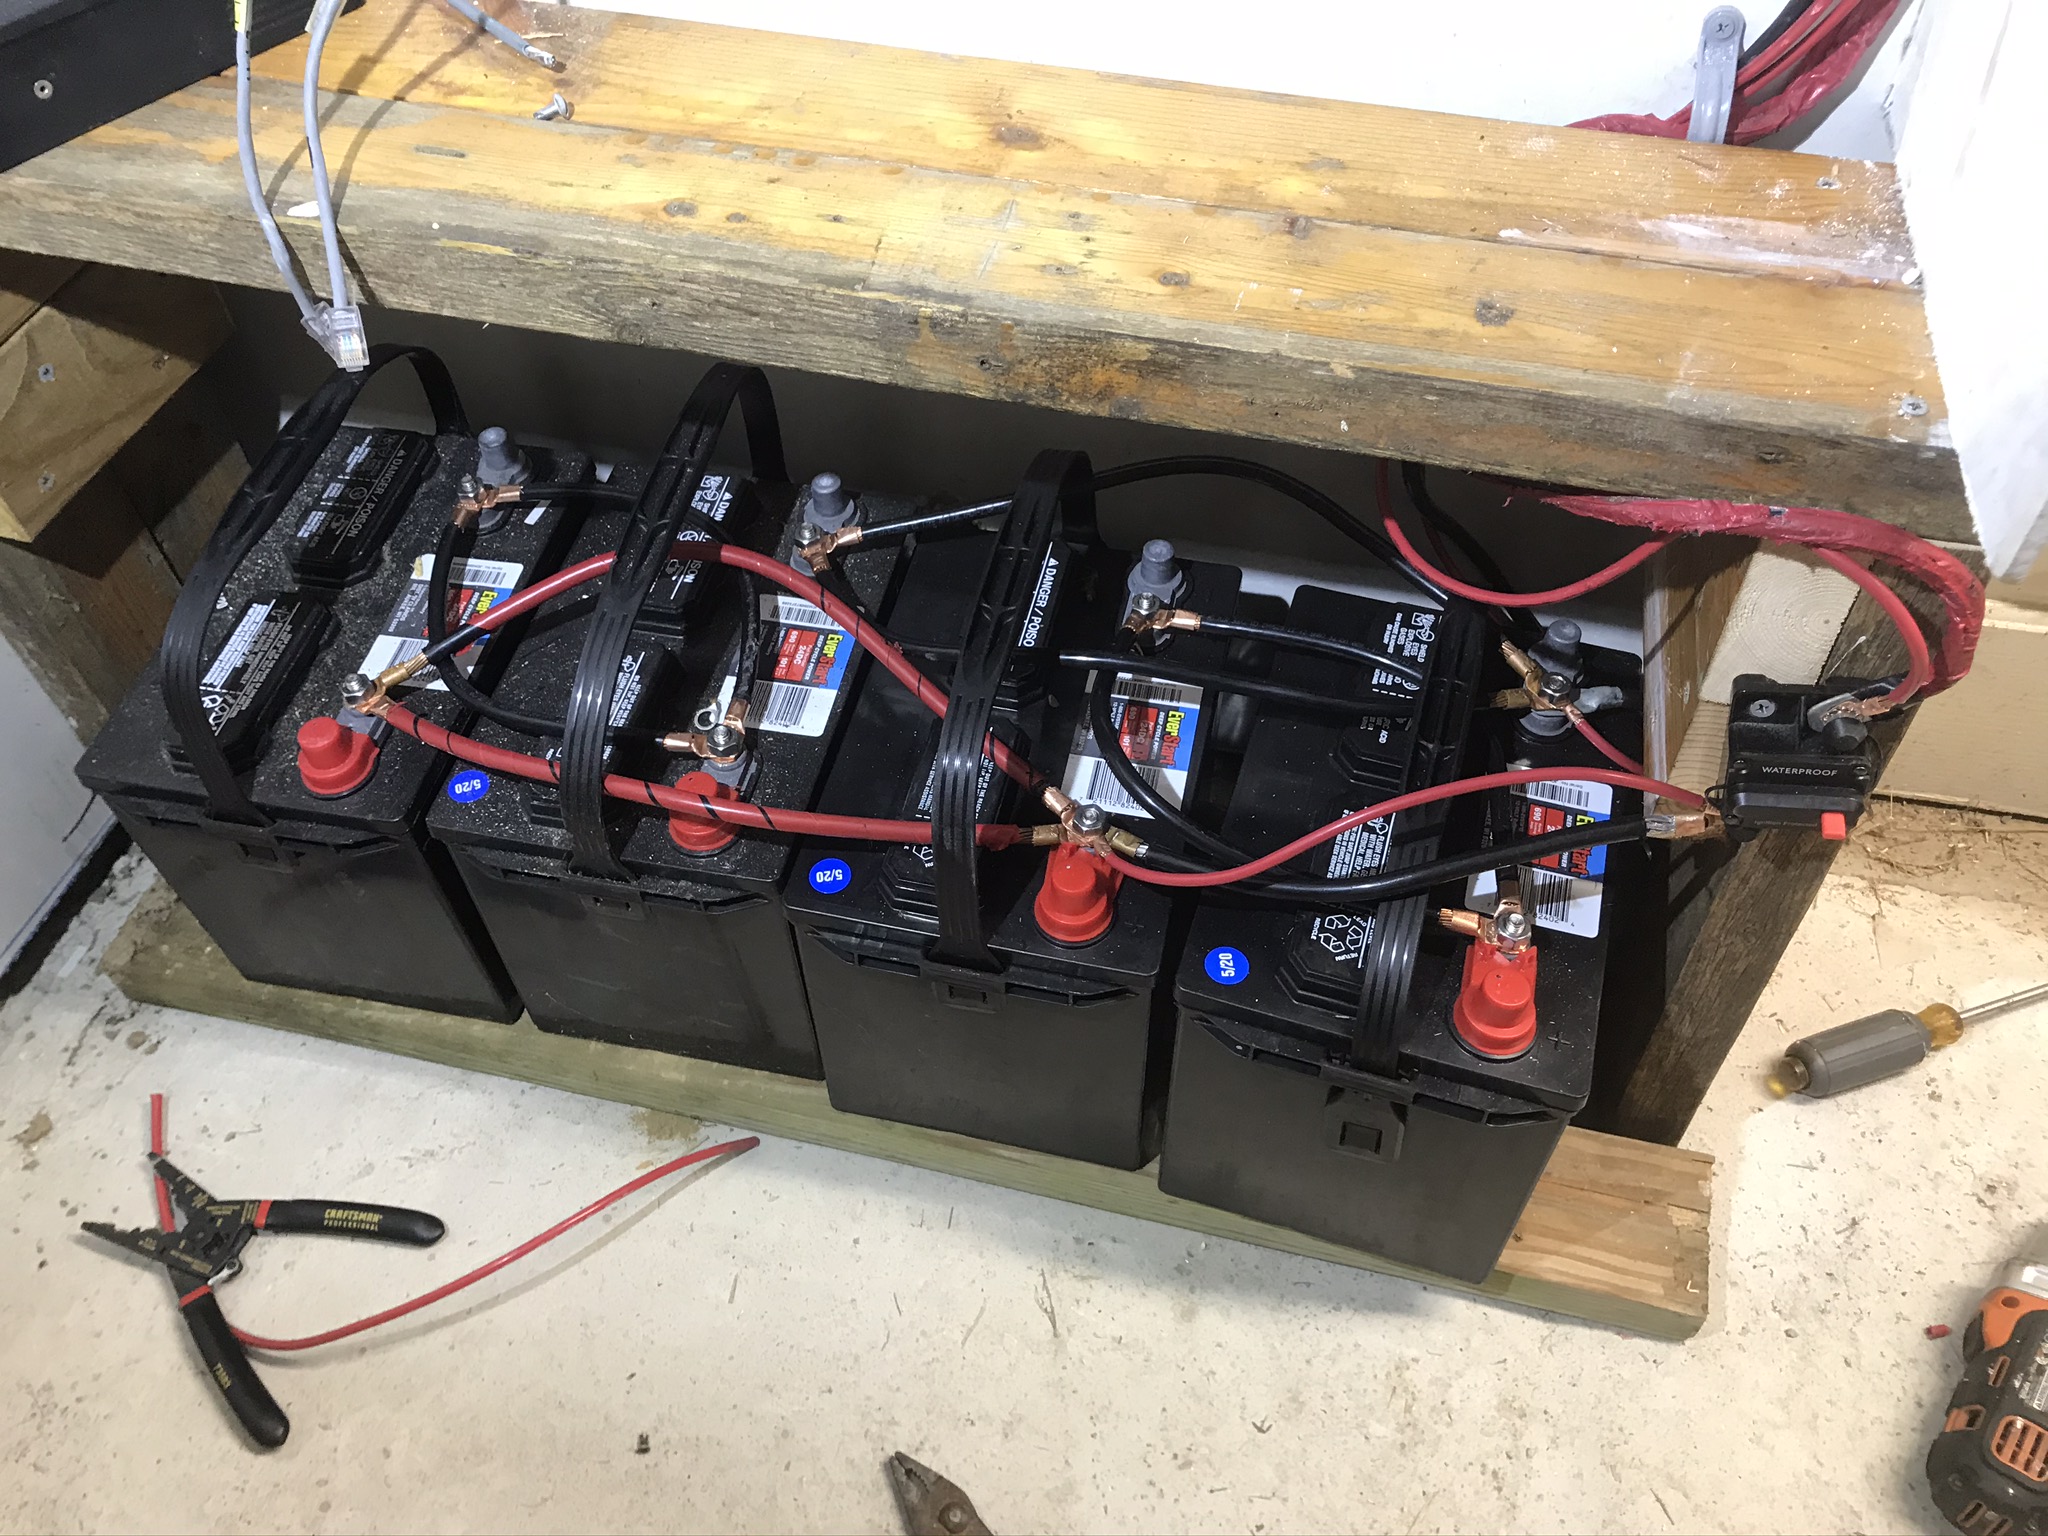
An array of solar panels is connected to a Charge Controller which is connected to your battery bank. Your inverter also connects to the same positive and negative terminals of the battery bank as the Charge Controller.
See installation notes at the bottom of the page for things to watch for during your install.
https://tennesseevalleysolar.com/what-not-to-do/
We have created a special learning section for our site that contains a lot of articles, videos, and more information in relation to all things solar.
For even more information about solar configuration, Click Here to Read More.
Tips and Installation Notes
This equipment is designed and sold for a DIY installation. Because of this, it is up to you to fully understand the ins and outs of this equipment. Read and fully understand the manual before starting. Incorrect installation WILL cause problems. Make sure you change the settings on the charge controller to be right for your installation. You will need a working Multimeter and you will need to know how to use it.
Damage caused by incorrect or poor installation will be your responsibility. Please remember that just because it doesn’t work the way that you think it should does not mean that I sold you junk. This equipment is complicated and can be confusing to install. We have had customers who have had issues with their installs and jumped to assuming that the issues were caused by a defective unit which had been damaged by the customer.
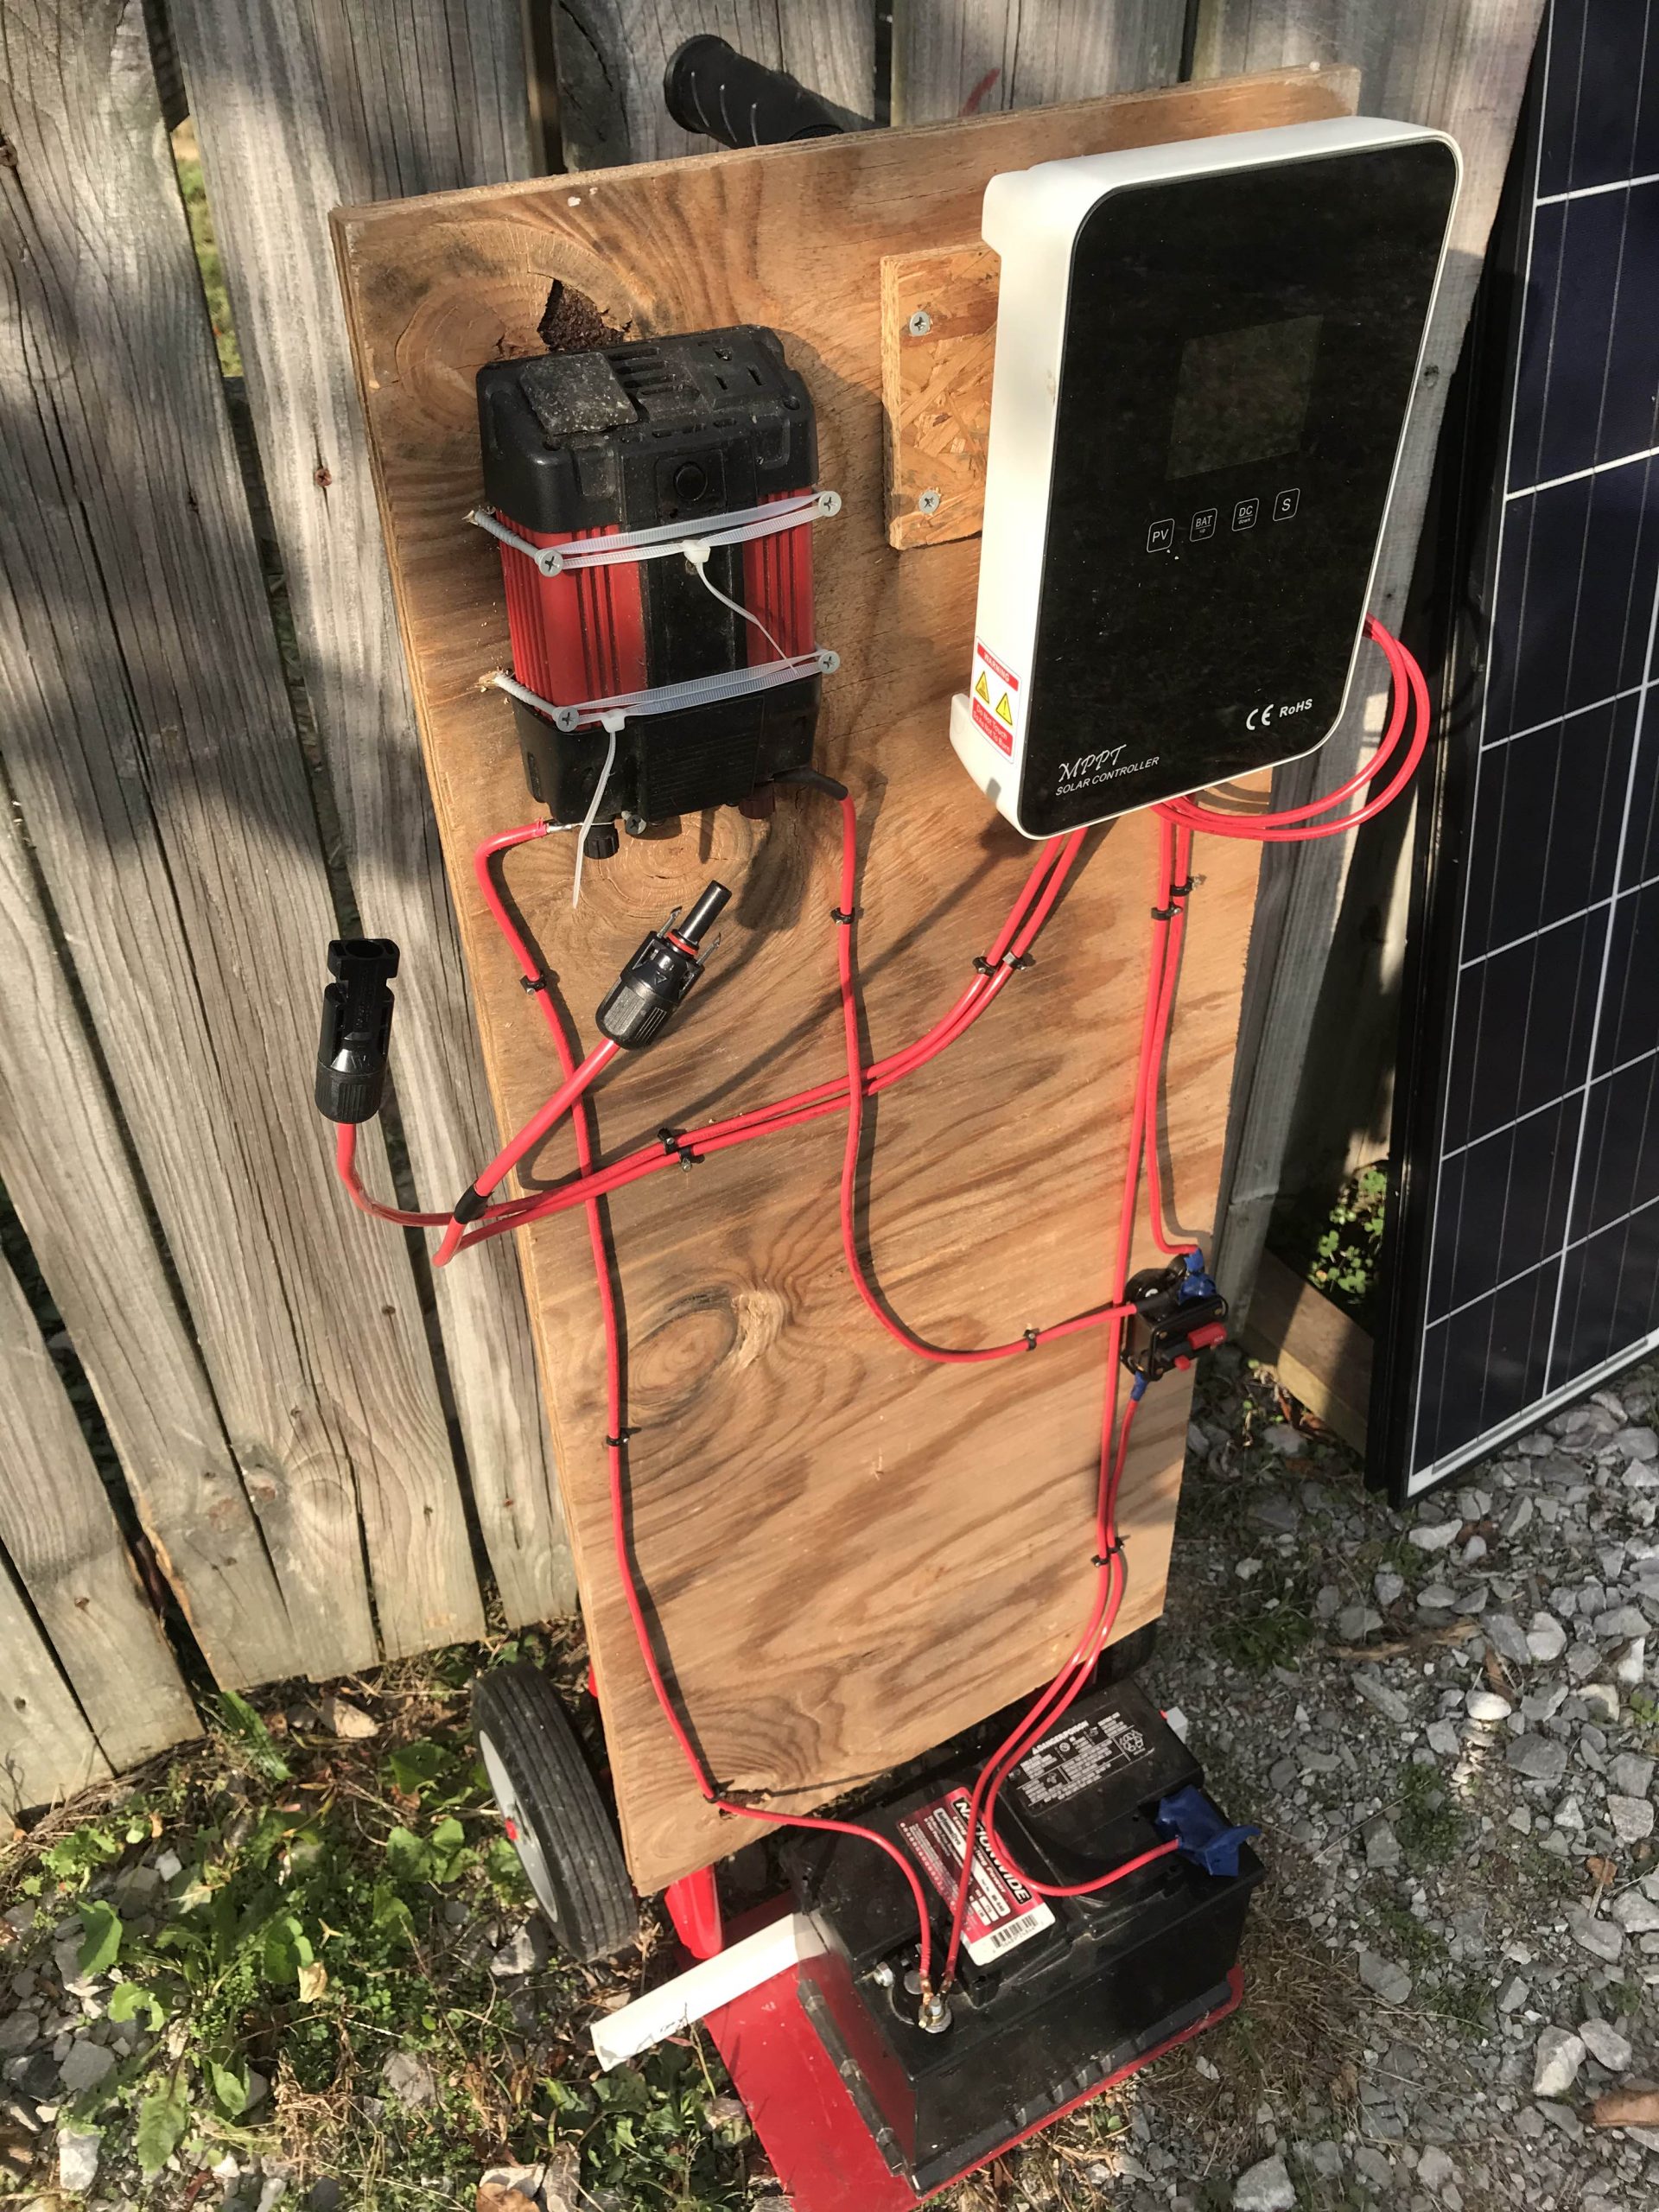
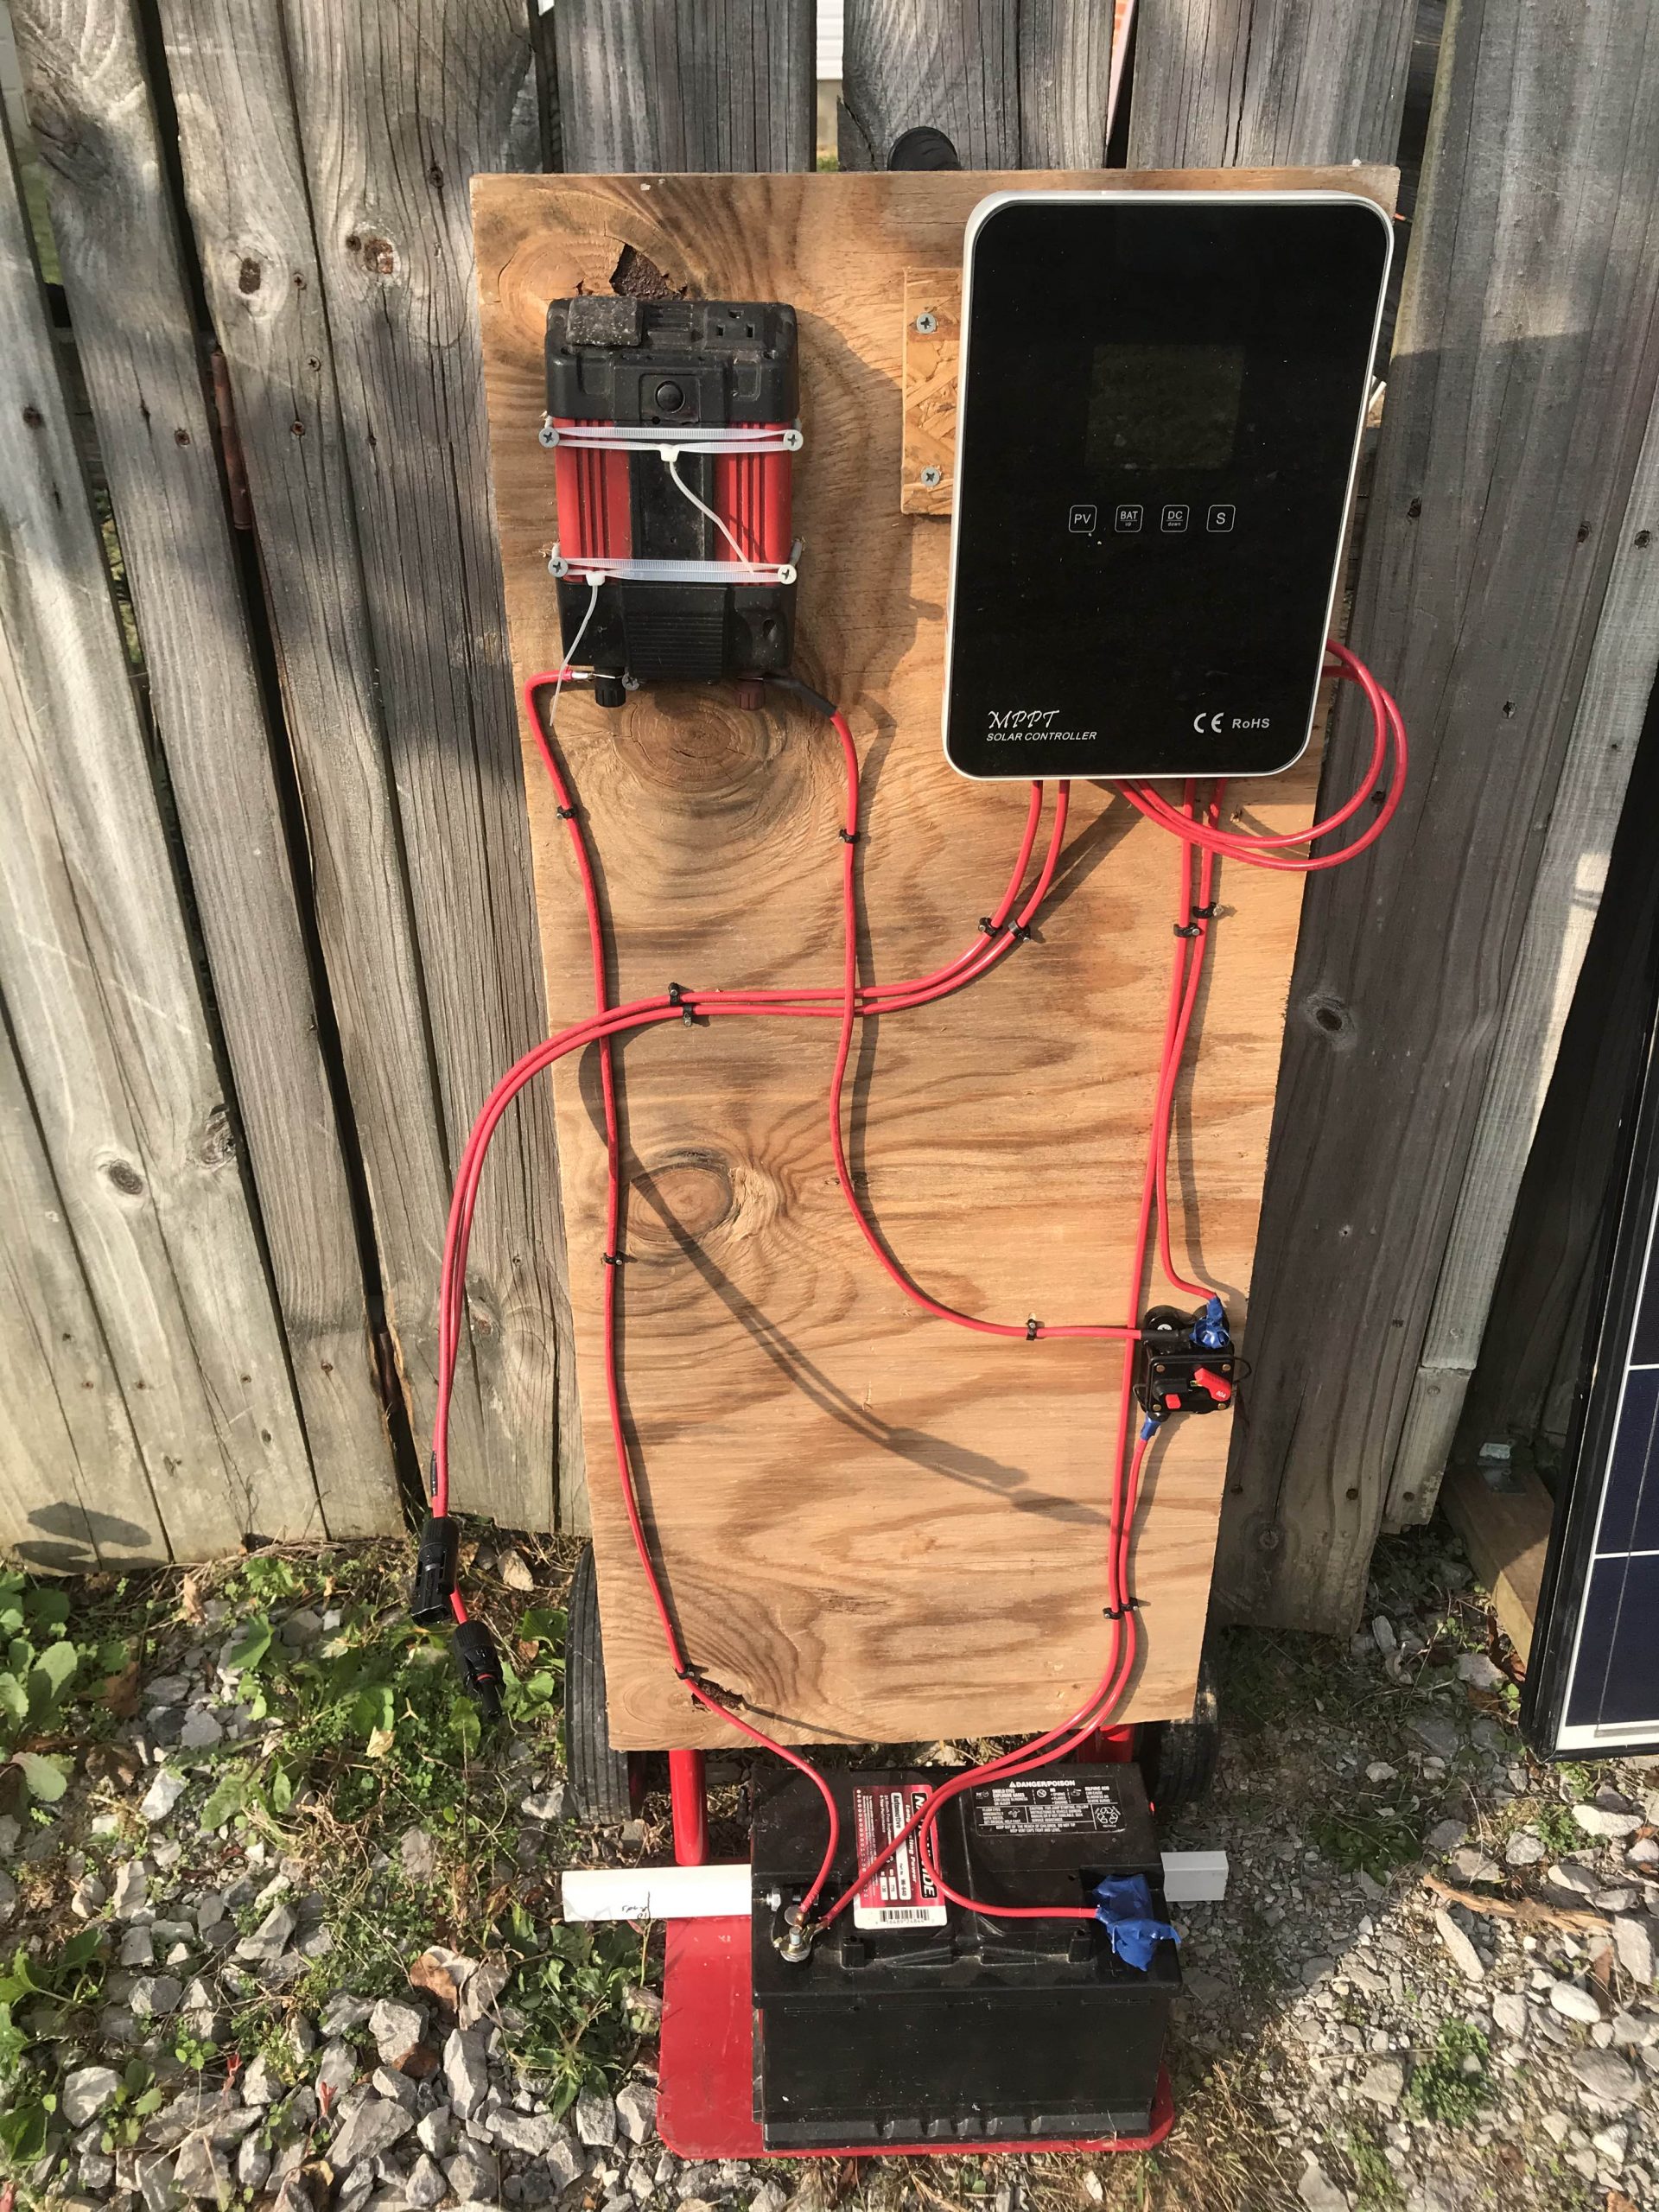
- You should have a breaker between your panels and the inverter. (Blue/White box on left side of Photo 2) Also, have a breaker between the Inverter and your batteries.
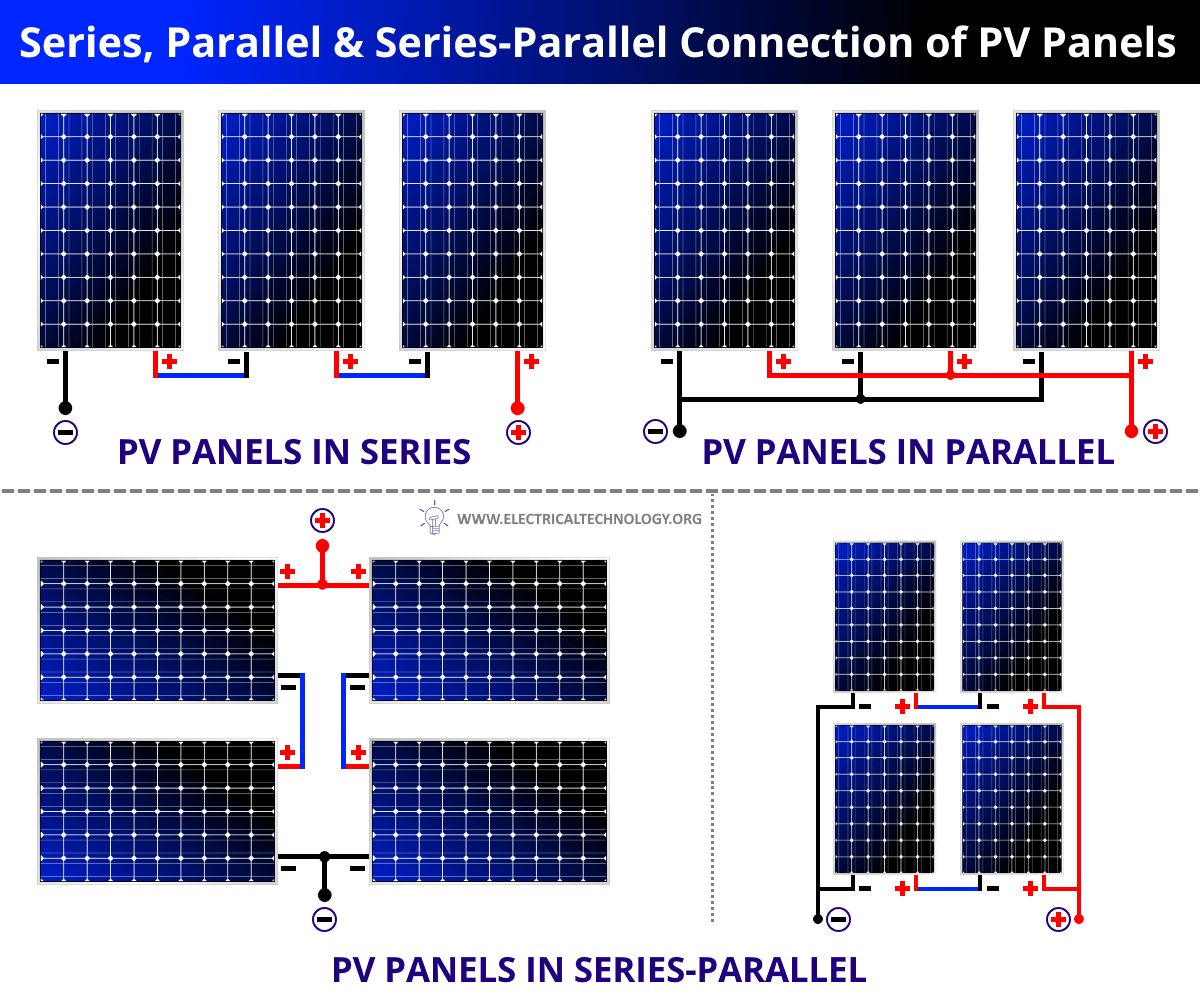
- If you are using 24 volt batteries, your solar panel string voltage needs to be greater than 28V DC. If you have 30 volt panels, I suggest having at least 2 of them in series which would have your string voltage at 60V. The voltage of the panels can drop when the panels are under load so I would suggest using 2 of them.
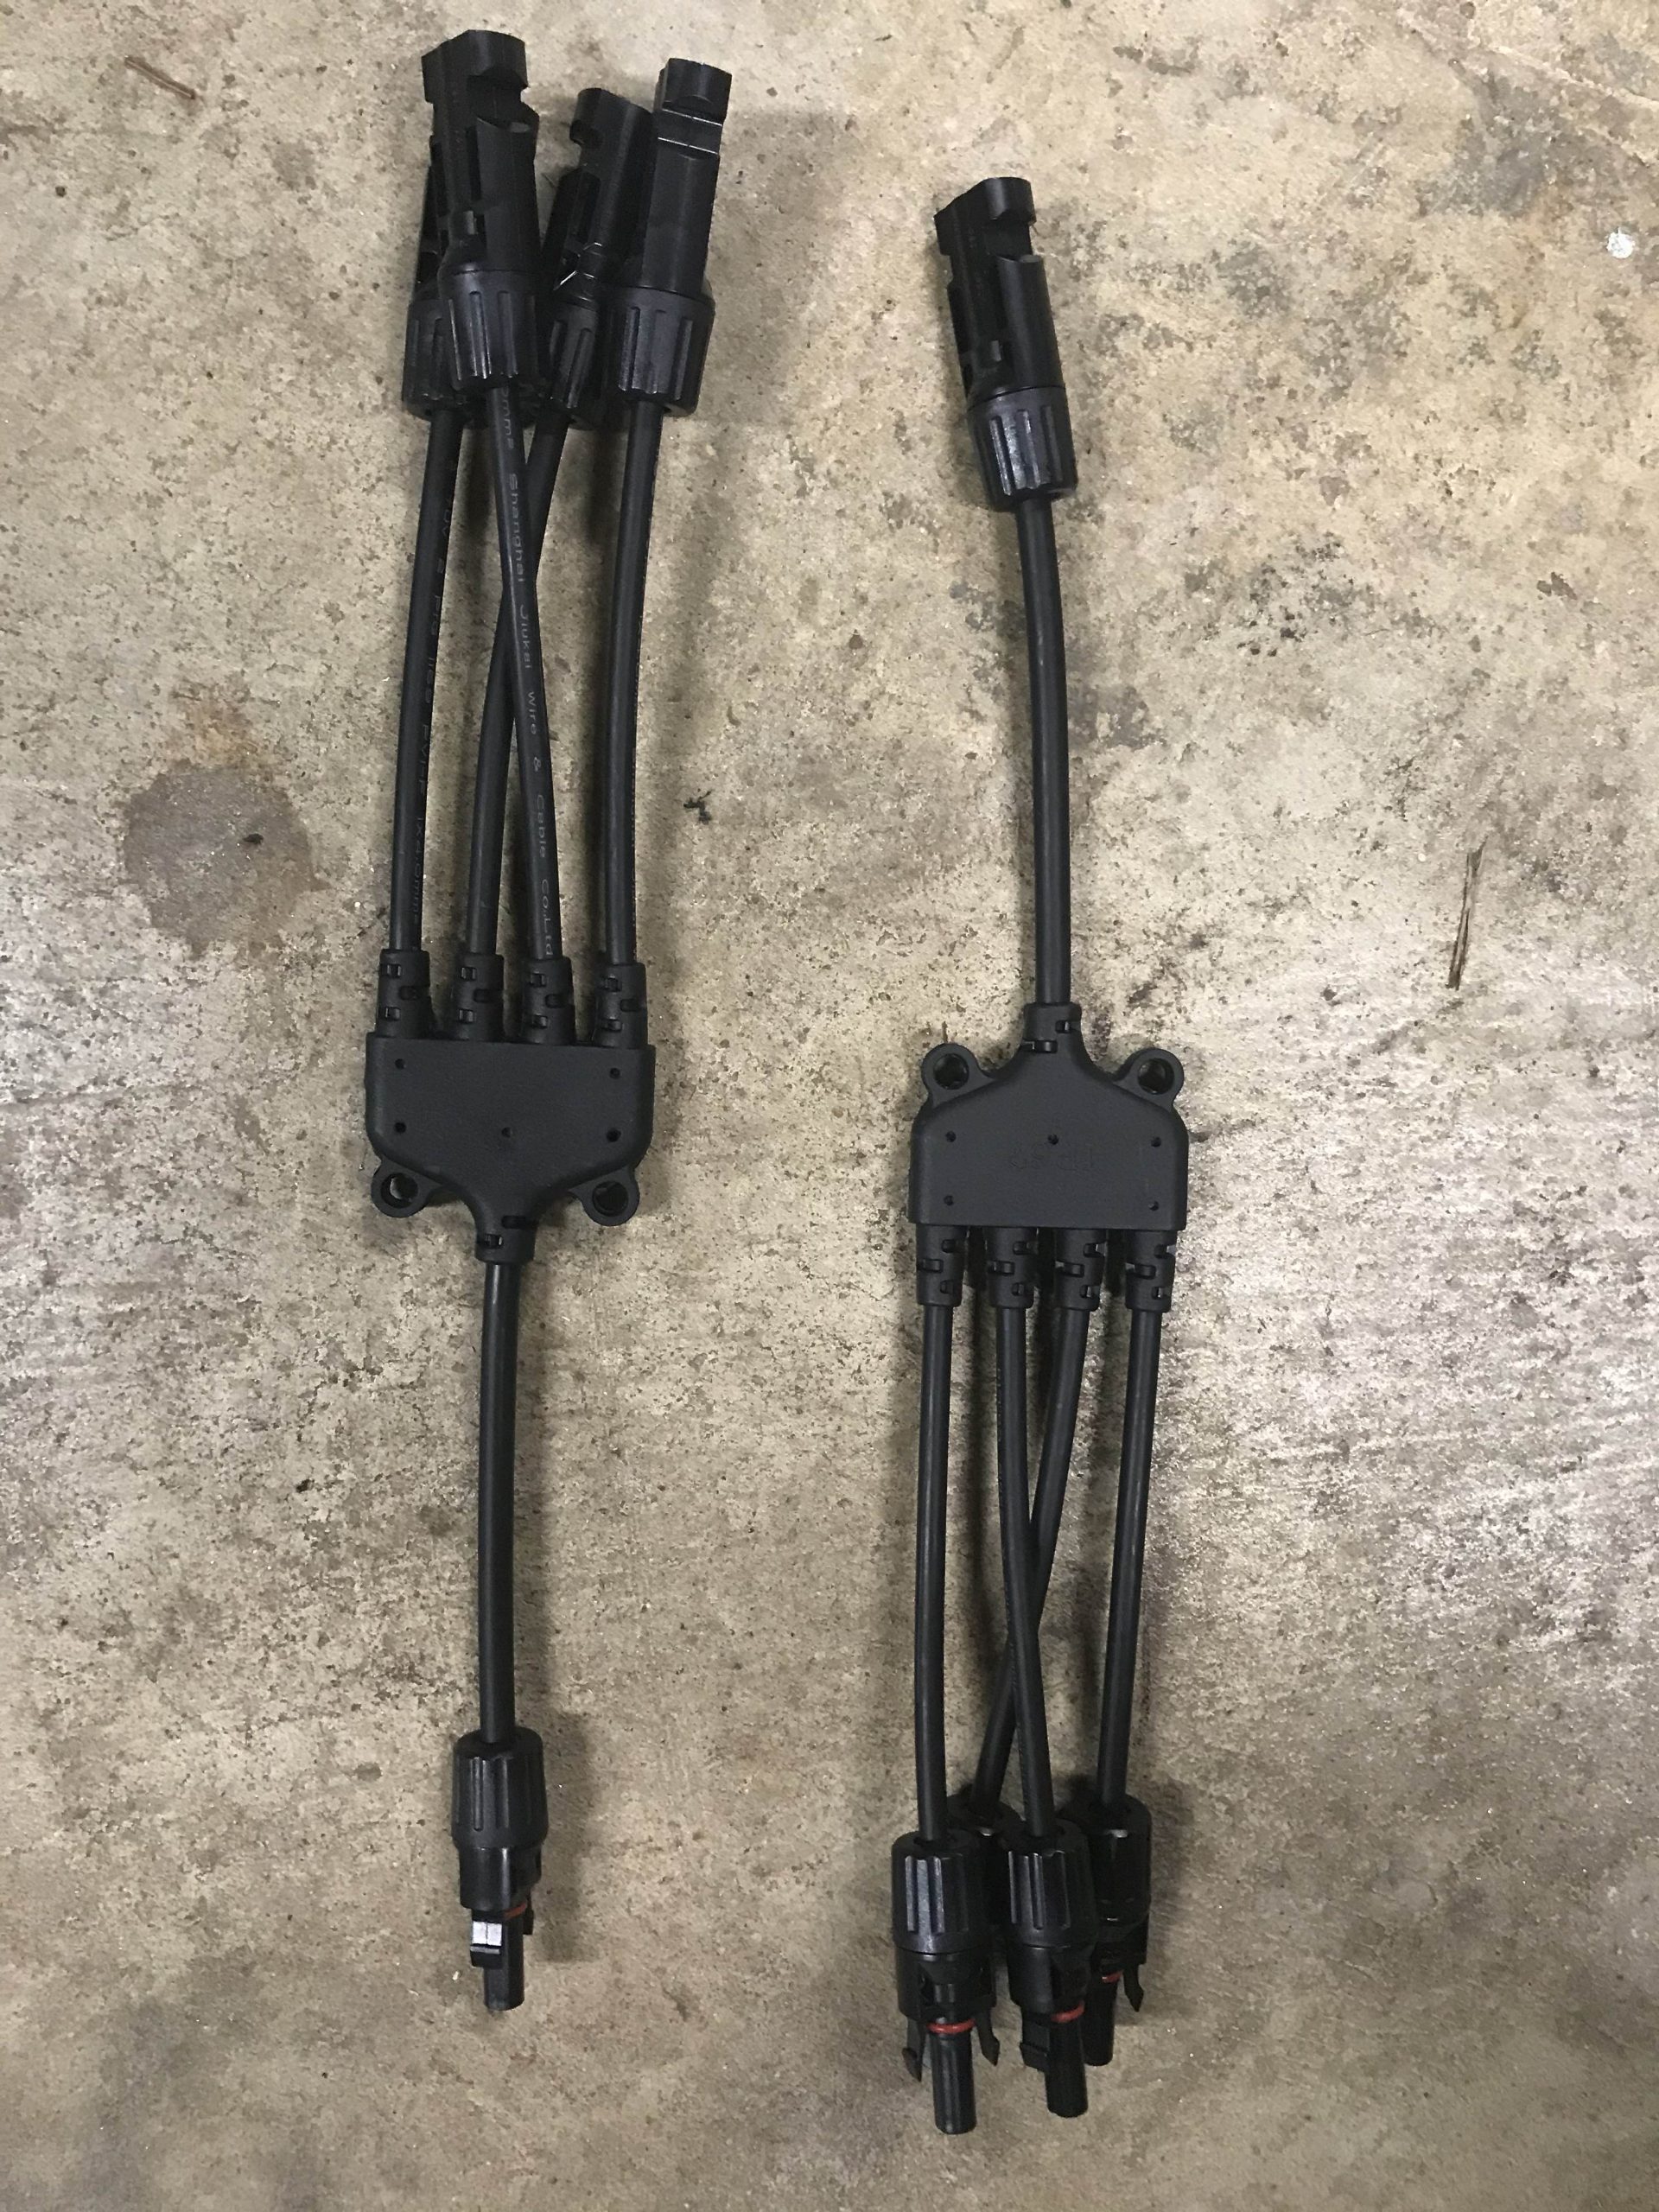
- You should bring your strings in and combine them in a combiner box or bus bars. This puts the strings in Parallel with each other. (Top left of Photo 2)
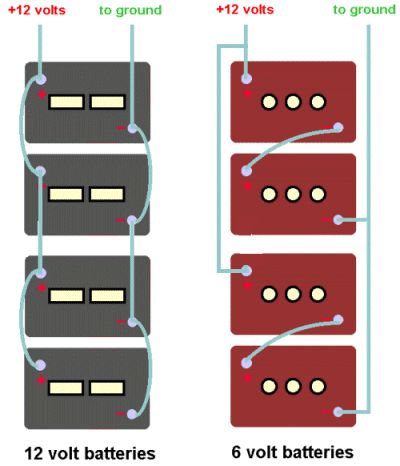
- The charge controller will support both 12 volts and 24 volts For a lot of people, this means putting 2 12V deep cycle batteries in “series”. This would mean connecting the batteries end to end positive to negative in a string. If using 24 Volts, the inverter will also need to support 24 volt battery packs.
- Charge Controllers produce more wattage when you increase the battery voltage. A 40 amp Charge Controller will produce 500 watts with 12 volt batteries and 1000 watts with 24 volt batteries. This means that you get “more bang from your buck” by having the batteries in the highest voltage supported by the Charge Controller. However, this means you also need an inverter that supports the same voltage.
- This inverter has an AC output that can be used to power your house. You can connect these output terminals to household wiring that can be run into a breaker in a breaker box. However, this inverter will only be producing 120 Volt power which would connect to a single pole breaker and would only power one side of your breaker box.
- You can hook your generator up to a battery chargers which will help keep your batteries charged during times of bad weather. Generators can make VERY “dirty” power that can damage the charger. If you are looking to use a generator, you may want to look into “Inverter Generators” which produce cleaner power.
